

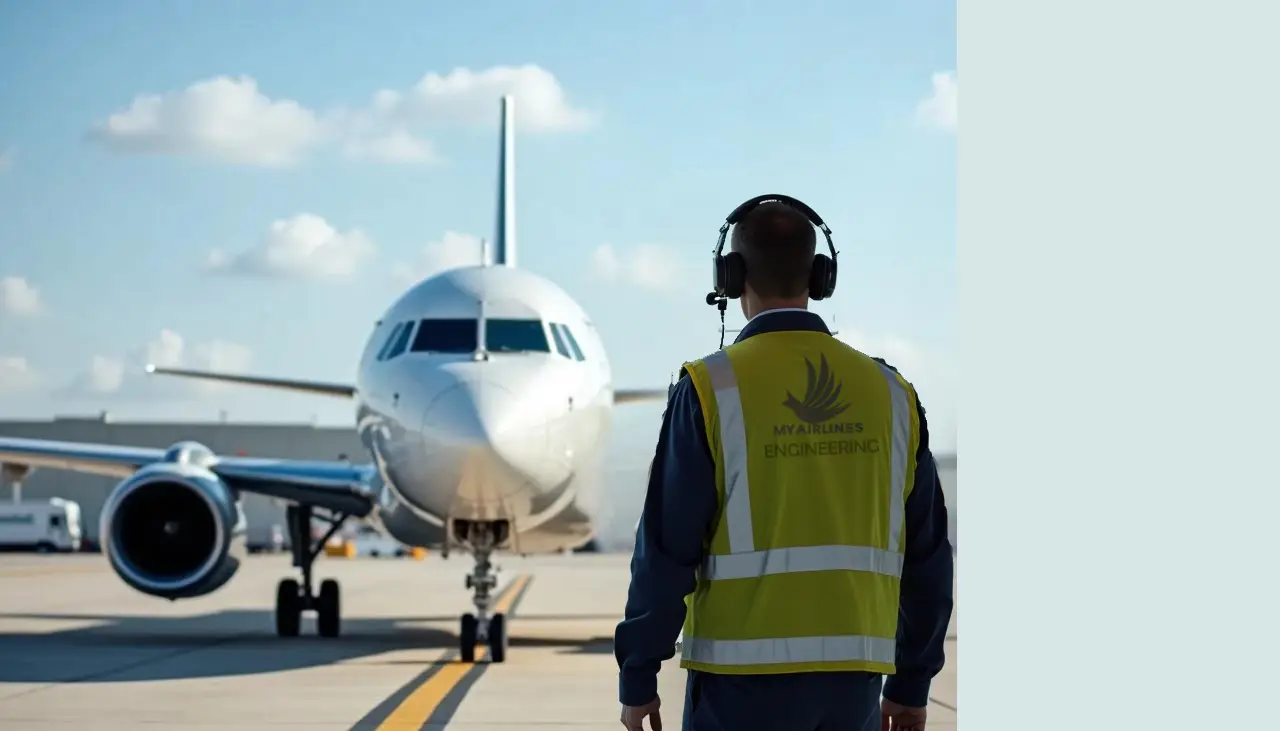
The Aircraft Departure Headset Procedure is a standard operating procedure (SOP) that governs the critical communication link between flight deck crew and ground staff during aircraft pushback and engine start-up. This procedure ensures safety, coordination, and compliance during one of the final ground-handling stages before takeoff.
These procedures are defined and enforced by:
- Airport Authority Regulations
- Airline Operator Policies
- Aircraft Maintenance Manual (AMM)
- Airport Operations Manual
- ICAO Standard Operating Procedures
- Civil Aviation Publications
- Aviation Incident & Accident Investigation Reports
This guide breaks down the step-by-step headset communication and safety protocol during aircraft departure and pushback operations. Like the Aircraft Arrival Receiving Procedure, the departure procedure varies depending on whether the APU is operative or inoperative.
Safety First – PPE Requirements for Airside Operation
Before proceeding with aircraft departure headset operations, ensure you are equipped with the following Personal Protective Equipment (PPE):
- High Visibility Jacket
- Safety Shoes
- Hearing Protection (Headset or Earmuffs)
- Gloves (especially when carrying equipment)
Never approach the aircraft without proper PPE as required by airport and airline safety regulations.
Aircraft Departure headset Procedure – Two Possible Scenarios
There are two main scenarios:
Case 1: Aircraft with an Operative APU
When the APU is fully functional, it can supply electrical power and air conditioning to the aircraft while on the ground. This allows for a smooth, independent start-up process without relying heavily on ground support equipment.
Case 2: Aircraft with an Inoperative APU
If the APU is not operational, the aircraft must depend on external ground power units (GPU) and pre-conditioned air systems. Additionally, an external air source—often referred to as an air start unit—may be required to start the engines before departure.
Each scenario involves a slightly different workflow, but the goal remains the same: ensuring the aircraft is properly powered, comfortable for passengers, and ready for a safe and timely departure. in this Article we will only look into Case 1: Aircraft with an Operative APU.
Case 1: Departure headset Procedure for an Aircraft with Operative APU
1. Preparation & Ground Equipment Disconnection
- Be at the aircraft at least 15 minutes before departure.
- Confirm aircraft wheels are chocked.
- Identify if external GPU or Pre-conditioned Air is connected.
- Confirm your headset is Serviceable
Important:
📢 Never disconnect any equipment without direct approval from the flight deck.
Headset Communication Example:
Mechanic: Ground to flight deck
Flight Deck: Go ahead
Mechanic: Are we clear to disconnect ground power and air-conditioning?
Flight Deck: Standby

[After APU is ON]

Flight Deck: Ground, you are clear to disconnect GPU and PCA
Mechanic: Copied
⚠️ Only disconnect the equipment the crew has approved.
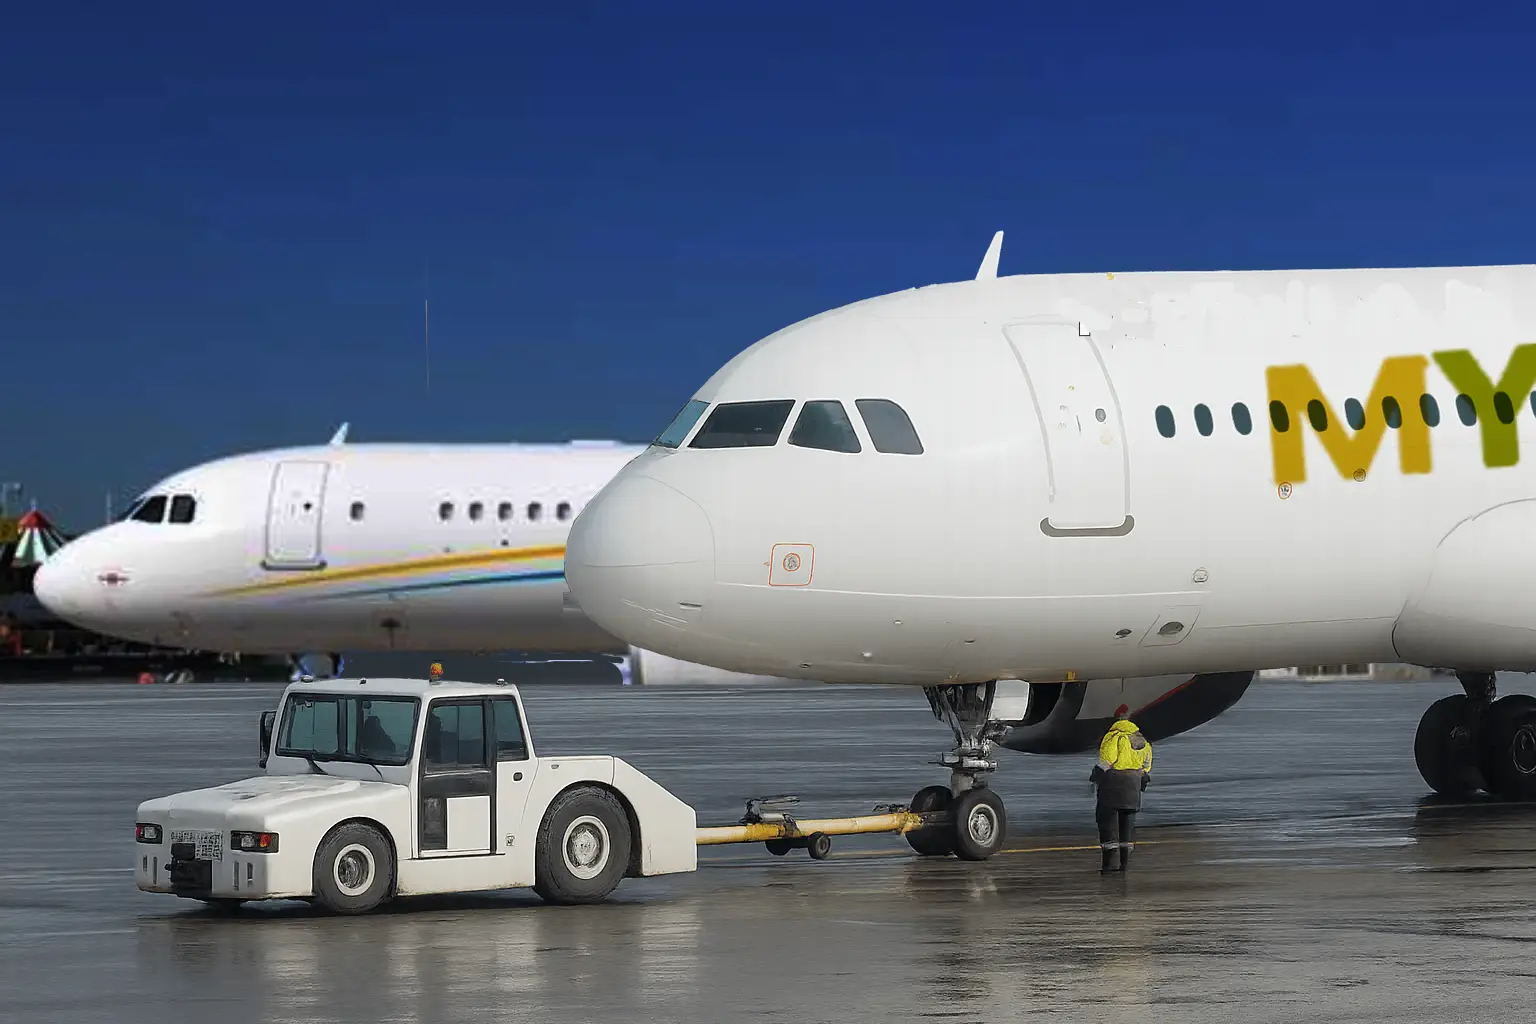
2. Pushback Tug Connection & Nose Steering Deactivation (bypass)
Follow the Operator’s Standard Operating Procedure:
- Request parking brake set before tug connection:
Mechanic: Ground to flight deck
Flight Deck: Go ahead
Mechanic: Please set parking brakes to connect tug
Flight Deck: Parking brakes set
Mechanic: Copied
- Insert the Nose Gear Steering Bypass Pin to deactivate nosewheel steering before attaching the tug.
⚠️ Never connect the tug without deactivating nosewheel steering—this may cause damage or serious injury.
3. Pre-Pushback Checks & Clearance
Once the pushback tug is connected and all other ground equipment has been cleared, you can remove the wheel chocks. Before starting the pushback, check the area for any obstacles or Foreign Object Debris (FOD) that could get in the way.
When everything looks clear and you’re ready, establish communication with the flight deck to begin the pushback.
Mechanic: Ground to flight deck
Flight Deck: Go ahead
Mechanic: All checks are completed. We are ready for pushback
Flight Deck: Standby
When clearance is received from ATC:
Flight Deck: Ground, cleared for pushback. Nose facing south.
Mechanic: Pushback facing south. Release parking brakes.
Flight Deck: Parking brakes released
✅ Indicate direction to the tug operator.
⚠️ Warning:
Never push without confirming the parking brakes are released.
⚠️ Warning:
Always be alert during pushback. Watch out for any hazards or obstructions. If you see anything unsafe, report it to the pushback operator immediately.
📌 Note:
The pilot may give instructions that differ from a standard pushback. If this happens, clearly communicate those instructions to the pushback team.
⚠️ Warning:
Keep a safe distance between yourself and the aircraft tug at all times while walking.
⚠️ Warning:
Make sure your headset cable is properly adjusted. Do not let it get tangled or caught on equipment.
4. Pushback & Engine Start Coordination
After Pushback Starts:
Mechanic: Commencing pushback
Monitor the nose landing gear steering angle during pushback.
If you notice the nose wheel turning beyond its normal limits, stop the operation and report it immediately. This could indicate a mechanical issue that needs attention.
If pilot requests engine start during pushback:
✅ If it is safe to do so, give the pilot clearance to start.
❓ If you’re unsure, always check with the pushback operator before giving the go-ahead.
Flight Deck: Are we clear to start engines?
Mechanic: You are clear to start engines
Flight Deck: Starting engines, sequence 2 then 1
Mechanic: Copied
Flight Deck: Starting engine no 2
Mechanic: Clear to start engine 2
⚠️ Say “Standby” if you’re not ready for engine start.
⚠️ Monitor engine start for any abnormalities.
5. Completion of Pushback
Once pushback is complete, the pushback operator will signal that the operation is finished.
👀 Watch the aircraft closely and make sure it has come to a complete stop.
🎧 Then, communicate with the flight deck to confirm that pushback is complete and await further instructions.
Mechanic: Pushback complete. Set parking brakes
Flight Deck: Parking brakes set
✅ Communicate with the Pushback Operator
Use hand signals to indicate “Parking Brakes Set” to the pushback operator.
⚠️ Important Warnings
- Wait for a full stop:
Never attempt to set the parking brake while the aircraft is still moving. Doing so with the tug still connected can cause serious damage to the aircraft and ground equipment. - Nose wheel alignment:
Ensure the nose wheel is straight once the pushback is complete. - Do not rush pin removal:
Only remove the nose steering bypass pin after the tug and tow bar have been completely removed. - Keep a safe distance:
Maintain a safe distance from the nose gear when removing the steering bypass pin to avoid injury or damage. - Wait for pilot instruction:
After removing the tug and tow bar, wait for the pilot’s instruction before proceeding further.
Flight Deck: Ground, good engine starts. Clear to disconnect. Standing by for hand signal from right
Mechanic: All equipment removed. Stand by for my hand signal from right. Good day.
Final Departure Steps
✅ Remove your headset and close the access panel, if there is one.
⚠️ Warning: Always close any open panel before leaving the aircraft.
⚠️ Warning: Double-check that the steering bypass pin has been removed.
Safety Check Before Departure
- Inspect the taxiway for any hazards or Foreign Object Debris (FOD).
- Walk away from the aircraft at a 45-degree angle from the radome (nose cone), making sure you’re visible to the pilots.
- Clearly show the bypass pin with its streamer flag to the flight crew.
After Pilot Acknowledges
👋 Once you receive the acknowledgment signal or salute from the flight deck:
🚶 Return safely back to the bay.
✅ Pushback Procedure Completed
You’re done! A safe and smooth pushback is all about clear communication, attention to detail, and strict adherence to safety steps.
Key Warnings & Best Practices
- 🔊 Always communicate clearly and concisely.
- 🧠 Remain alert to hazards (FOD, obstacles, other vehicles).
- 📏 Maintain a safe distance between headset cable, tug, and aircraft.
- 🧰 Double-check that all equipment is removed before signaling “clear.”
- 🧷 Bypass pin must be removed and confirmed visually by the crew.
Case 2: Departure headset Procedure for an Aircraft with Inoperative APU
When the Auxiliary Power Unit (APU) is inoperative, the aircraft cannot supply its own electrical power or air conditioning during ground operations. In this case, the aircraft relies on external support.
- External Ground Power Unit (GPU): Provides electrical power to the aircraft.
- Preconditioned Air Unit (PCA): Supplies air for cabin temperature control.
Engine Start Without APU Bleed
To allow the aircraft to operate independently, it needs to start its engines. However, since APU bleed air is unavailable, the engines must be started using external pneumatic air.
- This is provided by an Air Starter Unit (ASU), also known as a Pneumatic Starter Unit.
- The ASU supplies high-pressure air to spin the engine turbines for starting.
📝 Note:
Some aircraft engines use starter motors instead of pneumatic starters.
In such cases, an additional ground power source may be required instead of the air starter unit.
✅ Be Ready Ahead of Time
- Arrive at the aircraft stand at least 15 minutes before scheduled departure.
- Ensure all required ground equipment and operating personnel are available and ready.
🛠️ Plan the Engine Start
- Decide in advance which engine will be started on the ground.
- Choose the engine on the side where there is no hazard or obstruction during start-up (e.g., no jet bridge, catering truck, or refueling in progress).
🎧 Communication Equipment Check
- Confirm you have a serviceable headset and test communication with the flight deck.
🛞 Deactivate Nose Wheel Steering
- Insert the steering bypass pin to deactivate the nose wheel steering system before starting the engine.
⚠️ Important Safety Reminders
- Do NOT disconnect the Ground Power Unit (GPU) or Air Conditioning Unit (PCA) at this stage.
- These systems must stay connected until engine power is fully available.
🔌 Connect Air Starter Unit
- Once ready and cleared by the flight crew, connect the Air Starter Unit (ASU) securely to provide pneumatic air for engine start.
🧳 Final Preparation Before Engine Start
- Confirm that all boarding, loading, and ground servicing equipment (such as belt loaders, cargo doors, and fuel hoses) are fully removed.
- Visually inspect the area to ensure it’s clear.
- Then, prepare to start the engine as per the flight crew’s instructions.
Setting Parking Brakes & Preparing for Engine Start
🧯 Confirm parking Brake Set
Mechanic: ground to flight deck
Flight deck: go ahead
Mechanic: set parking brakes so we can prepare for departure.
Flight deck: parking brakes set
Mechanic: copied.
Connect the pushback tug only if it’s safe to do so and it does not interfere with any ground power or air conditioning connections.
After the parking brakes are confirmed set, you may remove the wheel chocks only from the side near the Engine you selected for start-up.
⚠️ Critical Safety Warnings
- Do NOT remove wheel chocks unless the parking brakes are confirmed set. Removing chocks without brakes set may cause the aircraft to move, risking serious damage.
- After engine start, ensure all personnel maintain a safe distance from engine hazard zones. Engine intake and exhaust can cause severe injury or death.
🧊 Removing Ground Air-Conditioning Unit (If Within Danger Zone)
Once the engine is about to start and if the external Air Conditioning Unit (PCA) is located near the hazard area of the starting engine, it must be disconnected safely.
🗨️ Sample Communication:
yamlCopyEditMechanic: ground to flight deck
Flight deck: go ahead
Mechanic: Advise me when we are clear to disconnect the Air-conditioning unit.
Flight deck: Clear to disconnect the Air-conditioning unit.
Mechanic: Copied.
✅ Action: Safely disconnect and remove the air-conditioning unit.
🔁 Engine Start Coordination (Bay Start for Engine 1)
🗨️ Sample Communication:
Flight deck: Are you ready to start engine on bay?
Mechanic: Affirm. All ground checks are completed. Let us start Engine No. 1 on bay and start Engine No. 2 after pushback.
Flight deck: Alright. Provide bleed to start Engine No. 1.
Mechanic: Providing bleed.
✅ Action: Open the valve on the Air Starter Unit (ASU) to provide bleed air.
🗨️ Confirm Bleed Flow:
Mechanic: Confirm you have bleed.
Flight deck: Affirm. Starting Engine No. 1.
Mechanic: Clear to start Engine 1.
Pilot will start Engine 1 (the Engine you find it safe). Monitor for any abnormalities.
🗨️ Communication After Engine 1 Start:
Flight deck: We have a good start on Engine Number 1. Disconnect Air Start Unit.
Mechanic: Copied. Disconnecting Air Start Unit.

Flight deck: Disconnect Ground Power Unit and advise me when we are ready for pushback.
Mechanic: Copied. Disconnecting Ground Power Unit. Stand by for pushback.
✅ Actions:
- 🔌 Disconnect Air Starter Unit (ASU) carefully.
- 🔋 Disconnect the Ground Power Unit (GPU).
- 🚜 Connect the pushback tug, if not already connected.
- 🧱 Remove remaining wheel chocks (especially near Engine 2).
- 👀 Do a final area check to ensure all equipment and personnel are clear.
⚠️ Caution:
Make sure there are no obstructions or hazards around the aircraft before initiating pushback.
🗨️ Ready for Pushback:
Mechanic: We are ready for pushback.
Flight deck: Standby.
✈️ Once ATC clearance is received:
Flight deck: Ground, we are clear for pushback, nose facing South.
Mechanic: Pushback facing South. Release parking brakes.
Flight deck: Parking brake released.
Pushback Procedure (With Inoperative APU)
🔄 Follow the same pushback procedure as in Case 1, but with one critical difference:
⚠️ Important Warning:
Do NOT start the second engine during pushback.
- Starting an additional engine requires increased bleed air, which causes the running engine to increase power output.
- This can put additional strain on the tug, tow bar, and nose gear, risking serious damage.
✅ Once Pushback is Complete:
- Follow standard completion steps:
- Wait for aircraft to come to a full stop.
- Communicate “parking brake set” via hand signals.
- Ensure the nose wheel is straight.
- Remove the pushback tug and tow bar.
- Remove the steering bypass pin only after tug is fully disconnected.
- Maintain safe distance from the nose gear during pin removal.
Starting the Remaining Engine(s) – Post Pushback
Once the aircraft is positioned and stationary after pushback:
🗨️ Engine Start Communication:
Mechanic: You are clear to start Engine Number 2.
Flight deck: Confirm the area behind us is clear to power up Engine 1.
✅ Action: Visually inspect the area behind the running engine and ensure it’s clear of personnel, equipment, or obstructions.
Mechanic: Affirm.
📝 Note:
- The pilots will increase thrust on the running engine to generate bleed air and start the second engine using cross-bleed.
⚠️ Critical Warnings:
- NEVER stand within the engine hazard area (intake or exhaust zone).
- Always visually confirm the area behind the engine is clear before giving clearance to power up.
✅ After a Successful Engine Start
🗨️ Final Communication:
Flight deck: Ground, we have good engine starts. Clear to disconnect. Standing by for your hand signal from the right.
Mechanic: All equipment is removed. Standing by for your hand signal from the right. Good day.
Final Departure Steps
- 🎧 Remove your headset.
- 🔒 Close the panel, if one was used. ⚠️ Always ensure all access panels are properly closed and latched.
- 📍 Remove the steering bypass pin. ⚠️ Make sure the tug and tow bar are fully removed before removing the pin.
🧹 Final Visual Check
- Inspect the taxiway around the aircraft for FOD or hazards.
- Walk away from the aircraft at a 45-degree angle from the radome (nose) so the flight crew has a clear view of you.
- Clearly show the bypass pin with its streaming flag to the pilots.
👋 Final Acknowledgment
Once you receive the acknowledgment signal or salute from the cockpit:
🚶 Return safely to the bay.
✅ Procedure Completed
Your departure handling for an aircraft with an inoperative APU is now complete. Smooth, safe operations depend on clear communication, proper planning, and strict attention to hazards.
Conclusion
The Aircraft Departure Headset Procedure is more than a communication protocol—it’s a vital safety measure that ensures successful coordination between ground crew and flight deck during pushback and engine start. Always adhere to SOPs, respect clearances, and remain situationally aware.